NAVISTAR/INT’L 7.3 POWER STROKE
466E &530E Engines Injector Sleeve Removal & Installation
Sleeve Removal
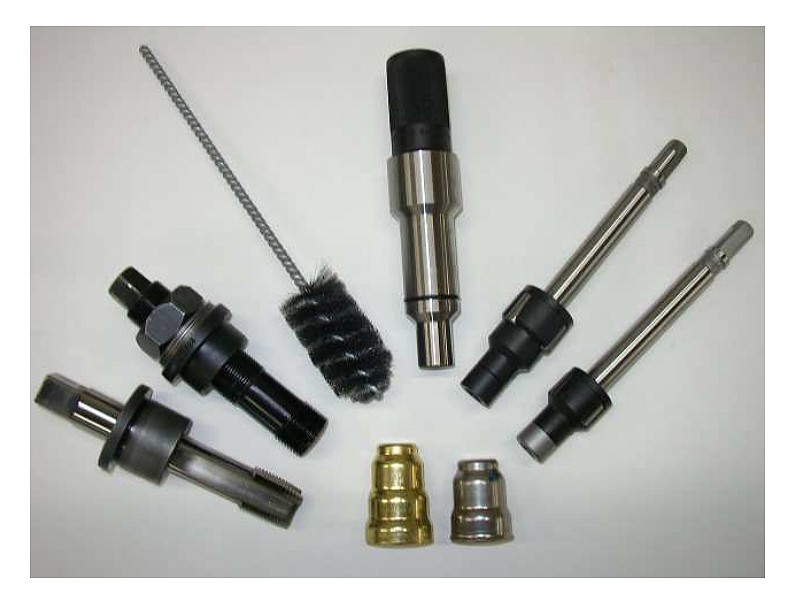
(1) With the Tap (533166) and the Tap Guide Bushing (677140) thread the upper end of the worn sleeve.
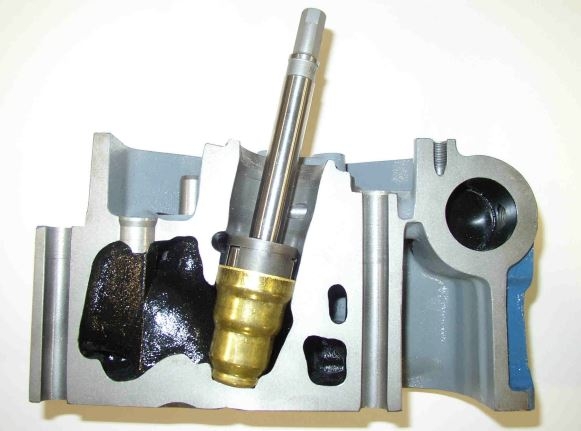
(2) Insert the sleeve remover (677430) threaded puller shaft of the removal tool down into the old sleeve. Continue to torque the shaft into the sleeve until the shaft grips the sleeve tightly with the threads. (2) With the puller bridge (or cup) in place between the puller nut and the face of the casting, and with the thrust bearing and the two thrust washers between the puller nut and the puller bridge, continue tightening down the puller nut and pull out the old sleeve as shown here.

Sleeve Installation
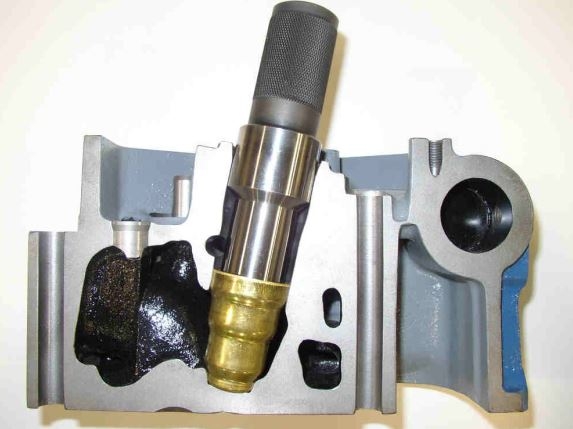
(1) Using the carbon steel casting brush (695105) clean out the inside of the injector sleeve bore area, ensure the casting is clean in the square-cut corner for proper sealing. (2) Apply Permatex Part # 6400026240 to the lower outer rim (not flat of casting or flat of sleeve) and the upper rim of sleeve, then use the sleeve drive-in tool (677210) and a hammer; drive the sleeve to the bottom of the casting.
Roll in Tool (Optional)
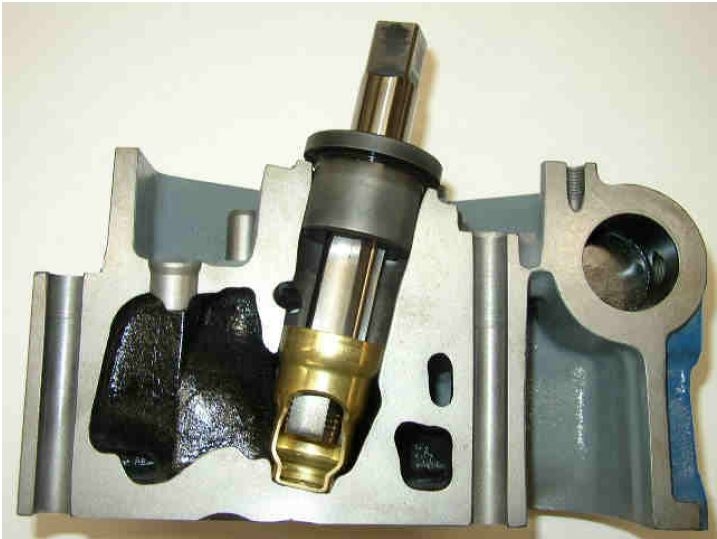
Use the roll-in tool to expand the upper end of the injector sleeve with either roll in tool, (677733 7.3 or 677463 466E & 530E) can be used in a seat and guide machine (machining center), ½” hand drill at a speed of 50 RPM, or by hand tools. Roll in the upper end of the sleeve by rotating the arbor clockwise and letting the roll-in tool feed itself into the injector sleeve till it bottoms. The rollers in the cage assembly will expand to a diameter within the specified limits. To remove the tool, reverse (counterclockwise) the arbor rotation. Keep the operating parts, rollers, and arbor well oiled at all times.